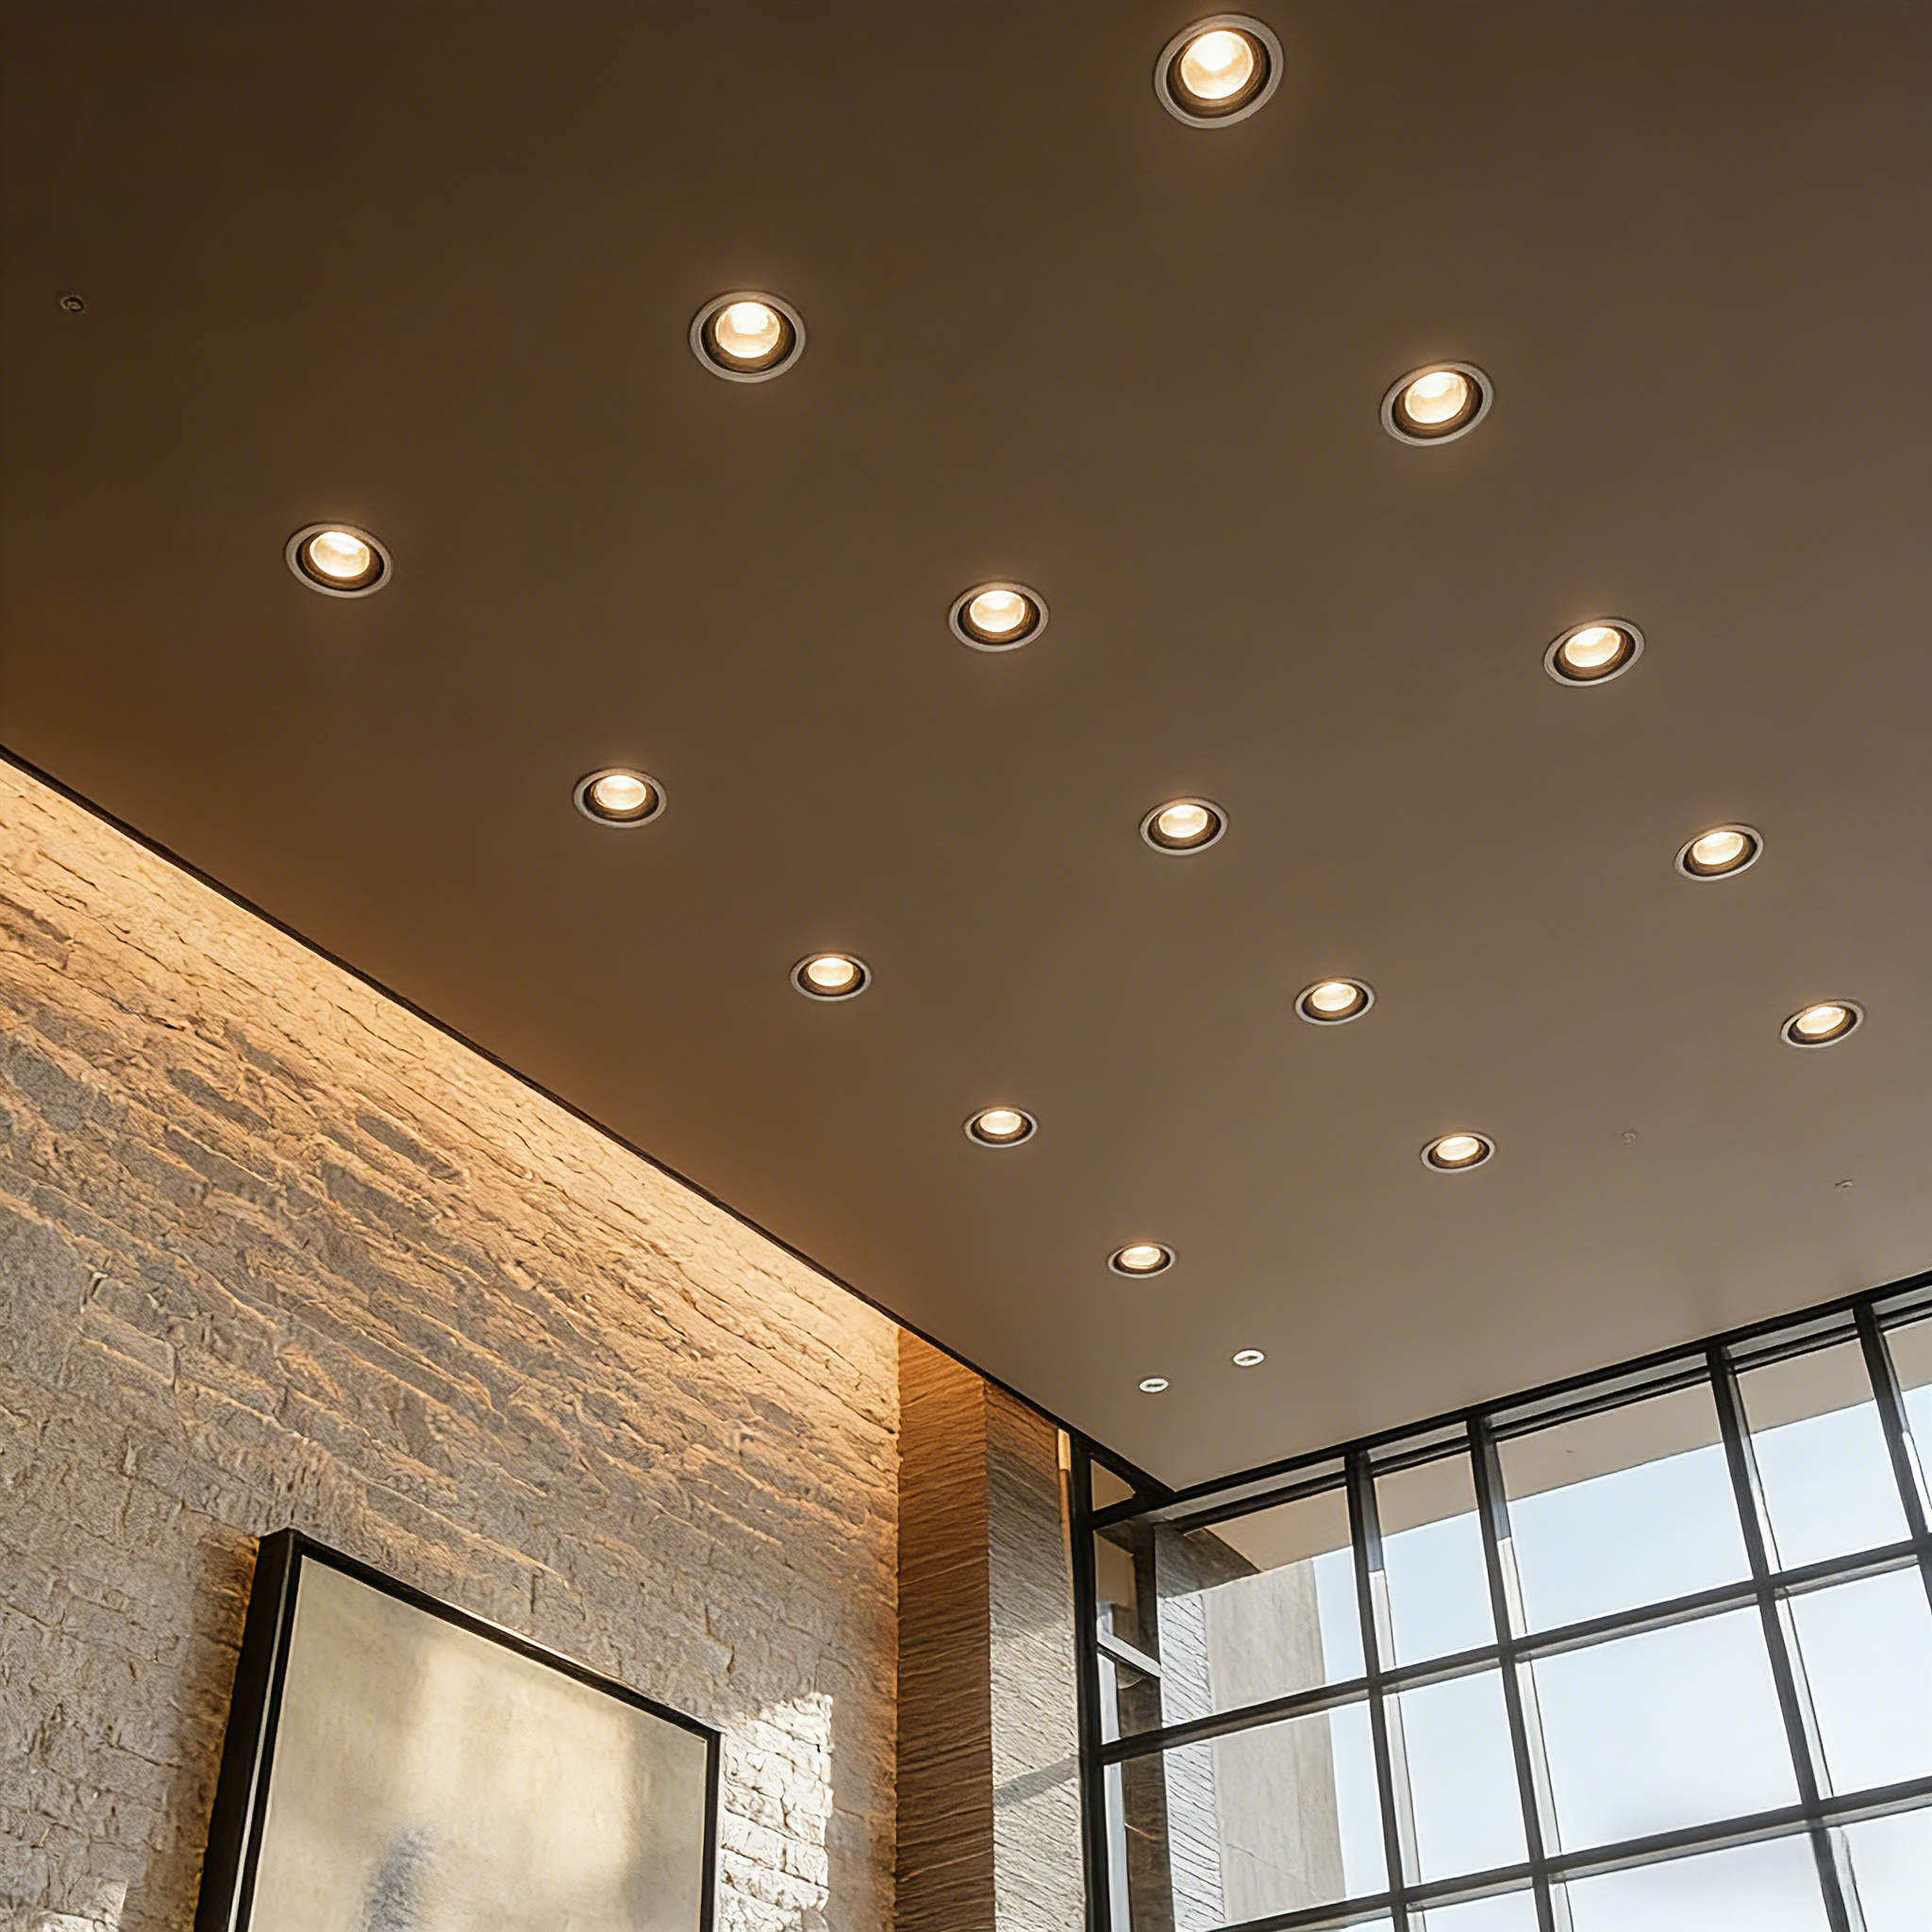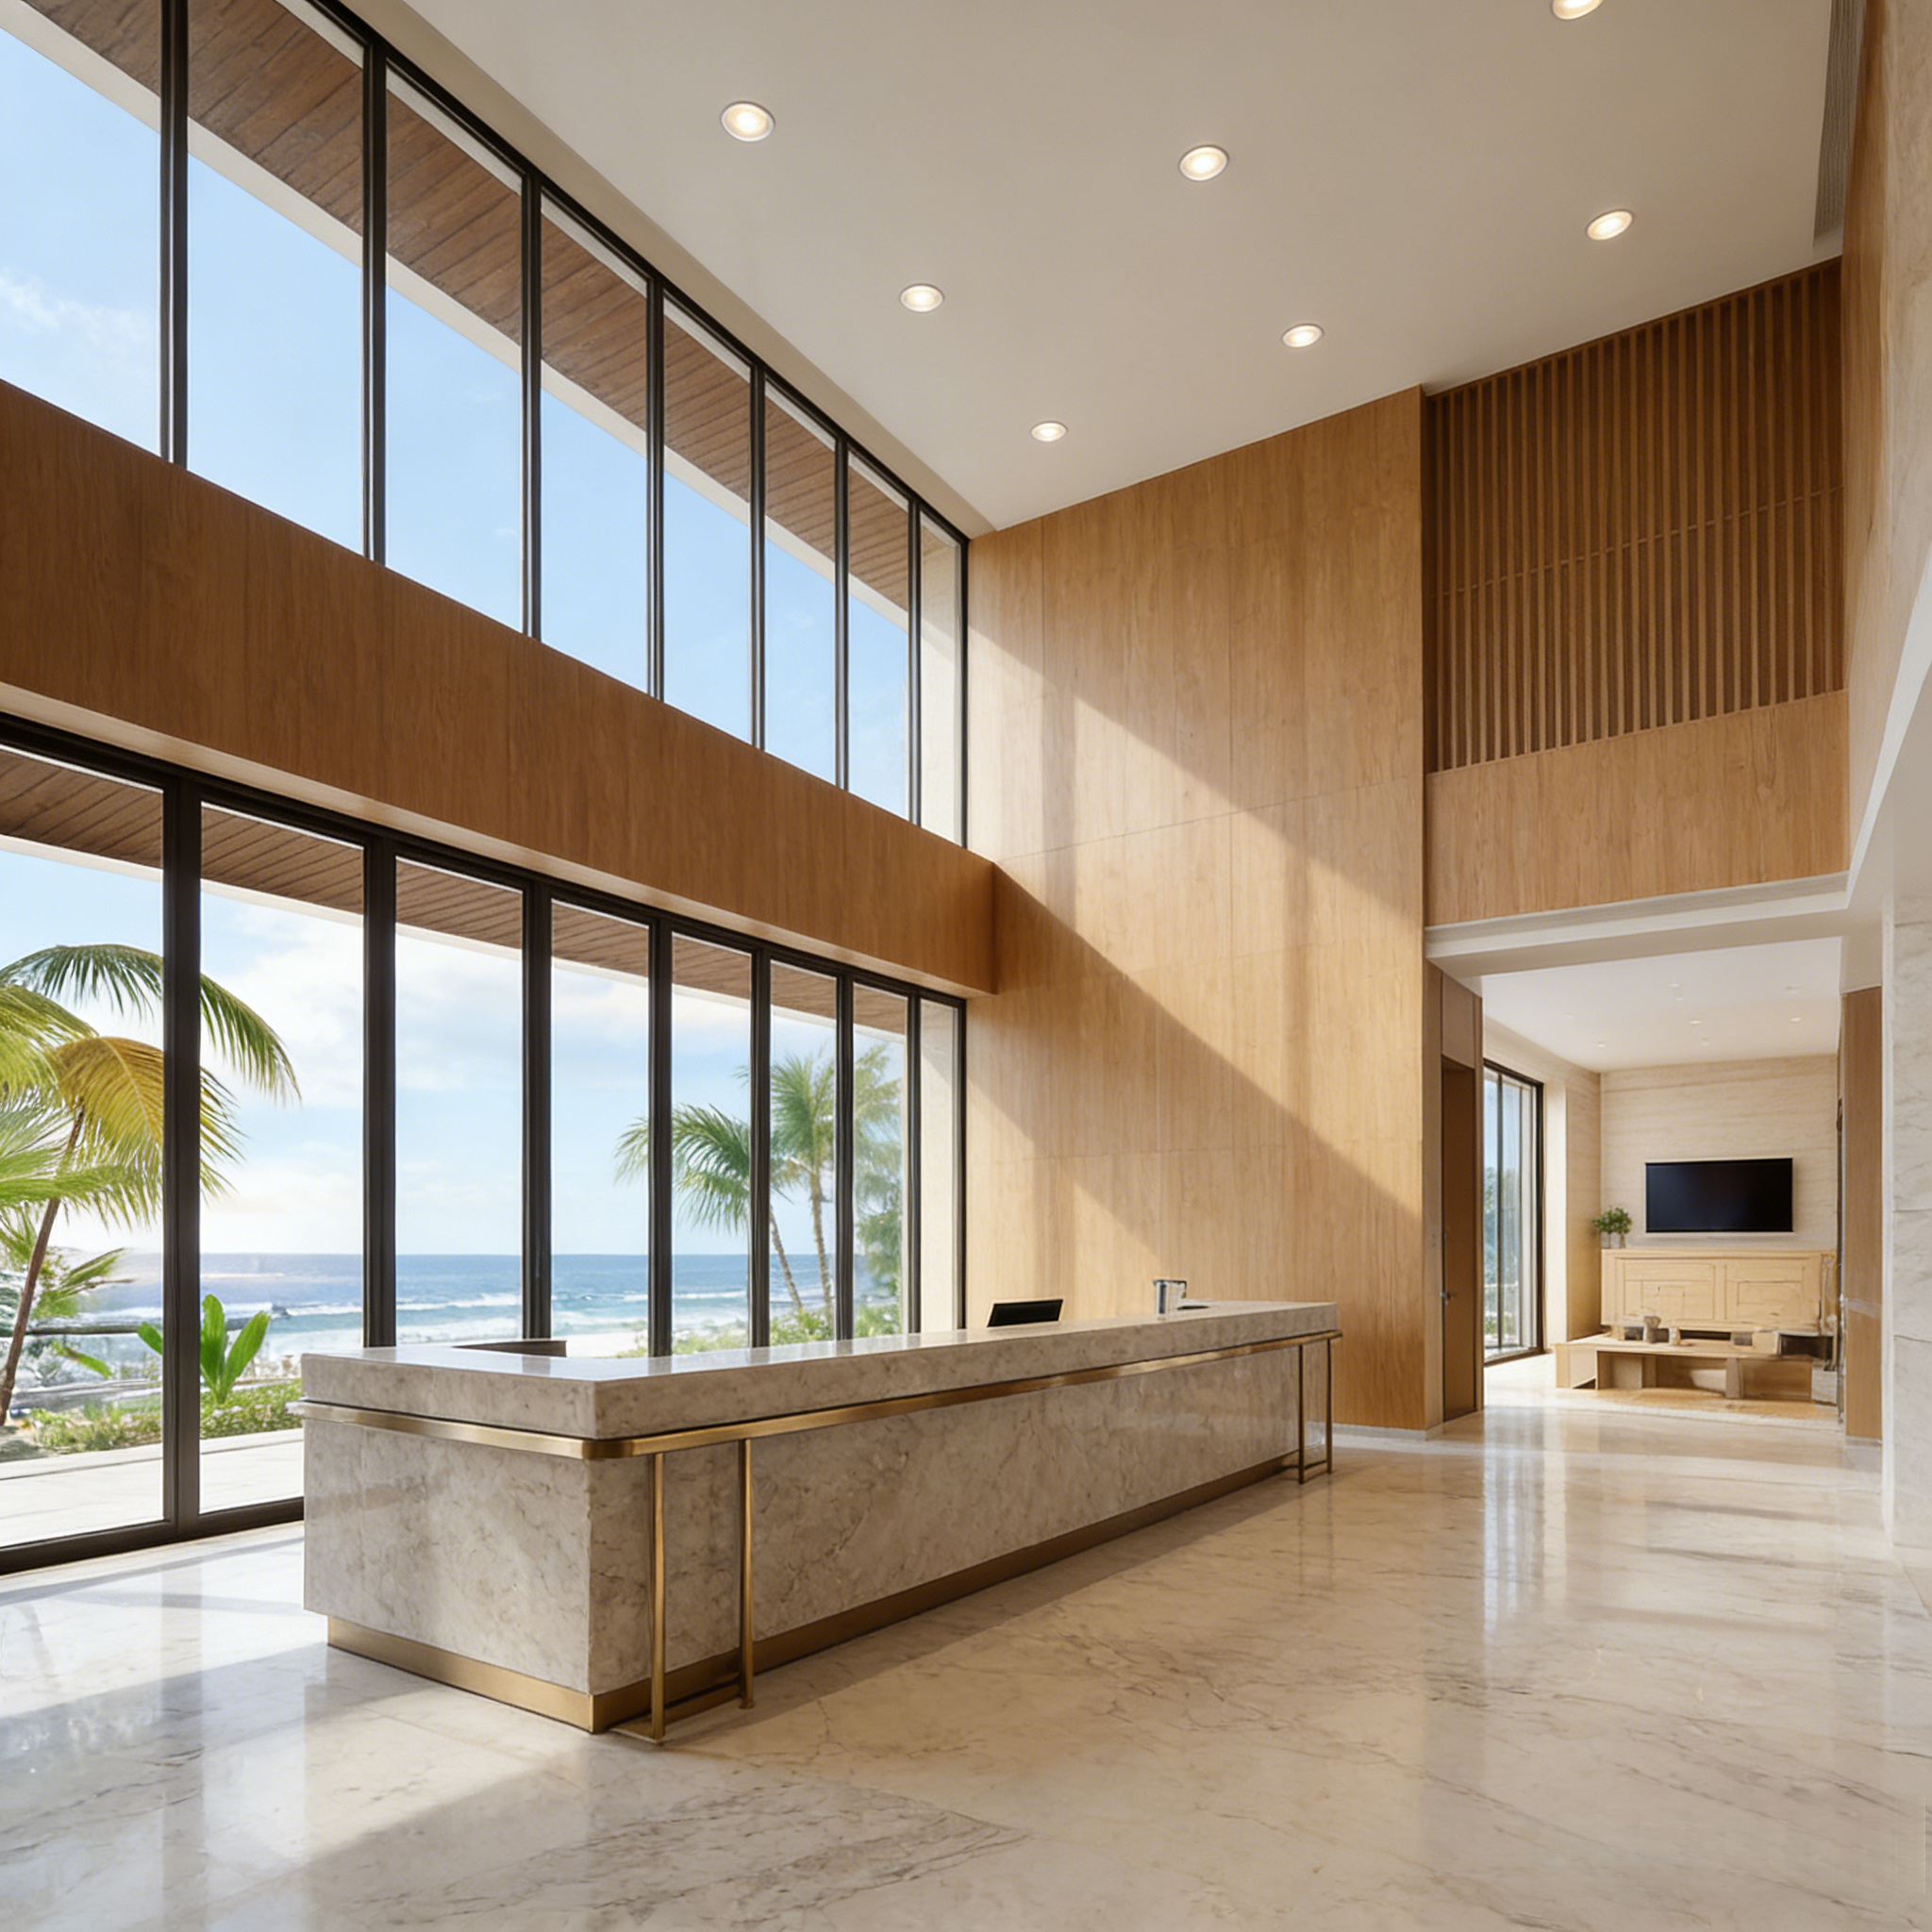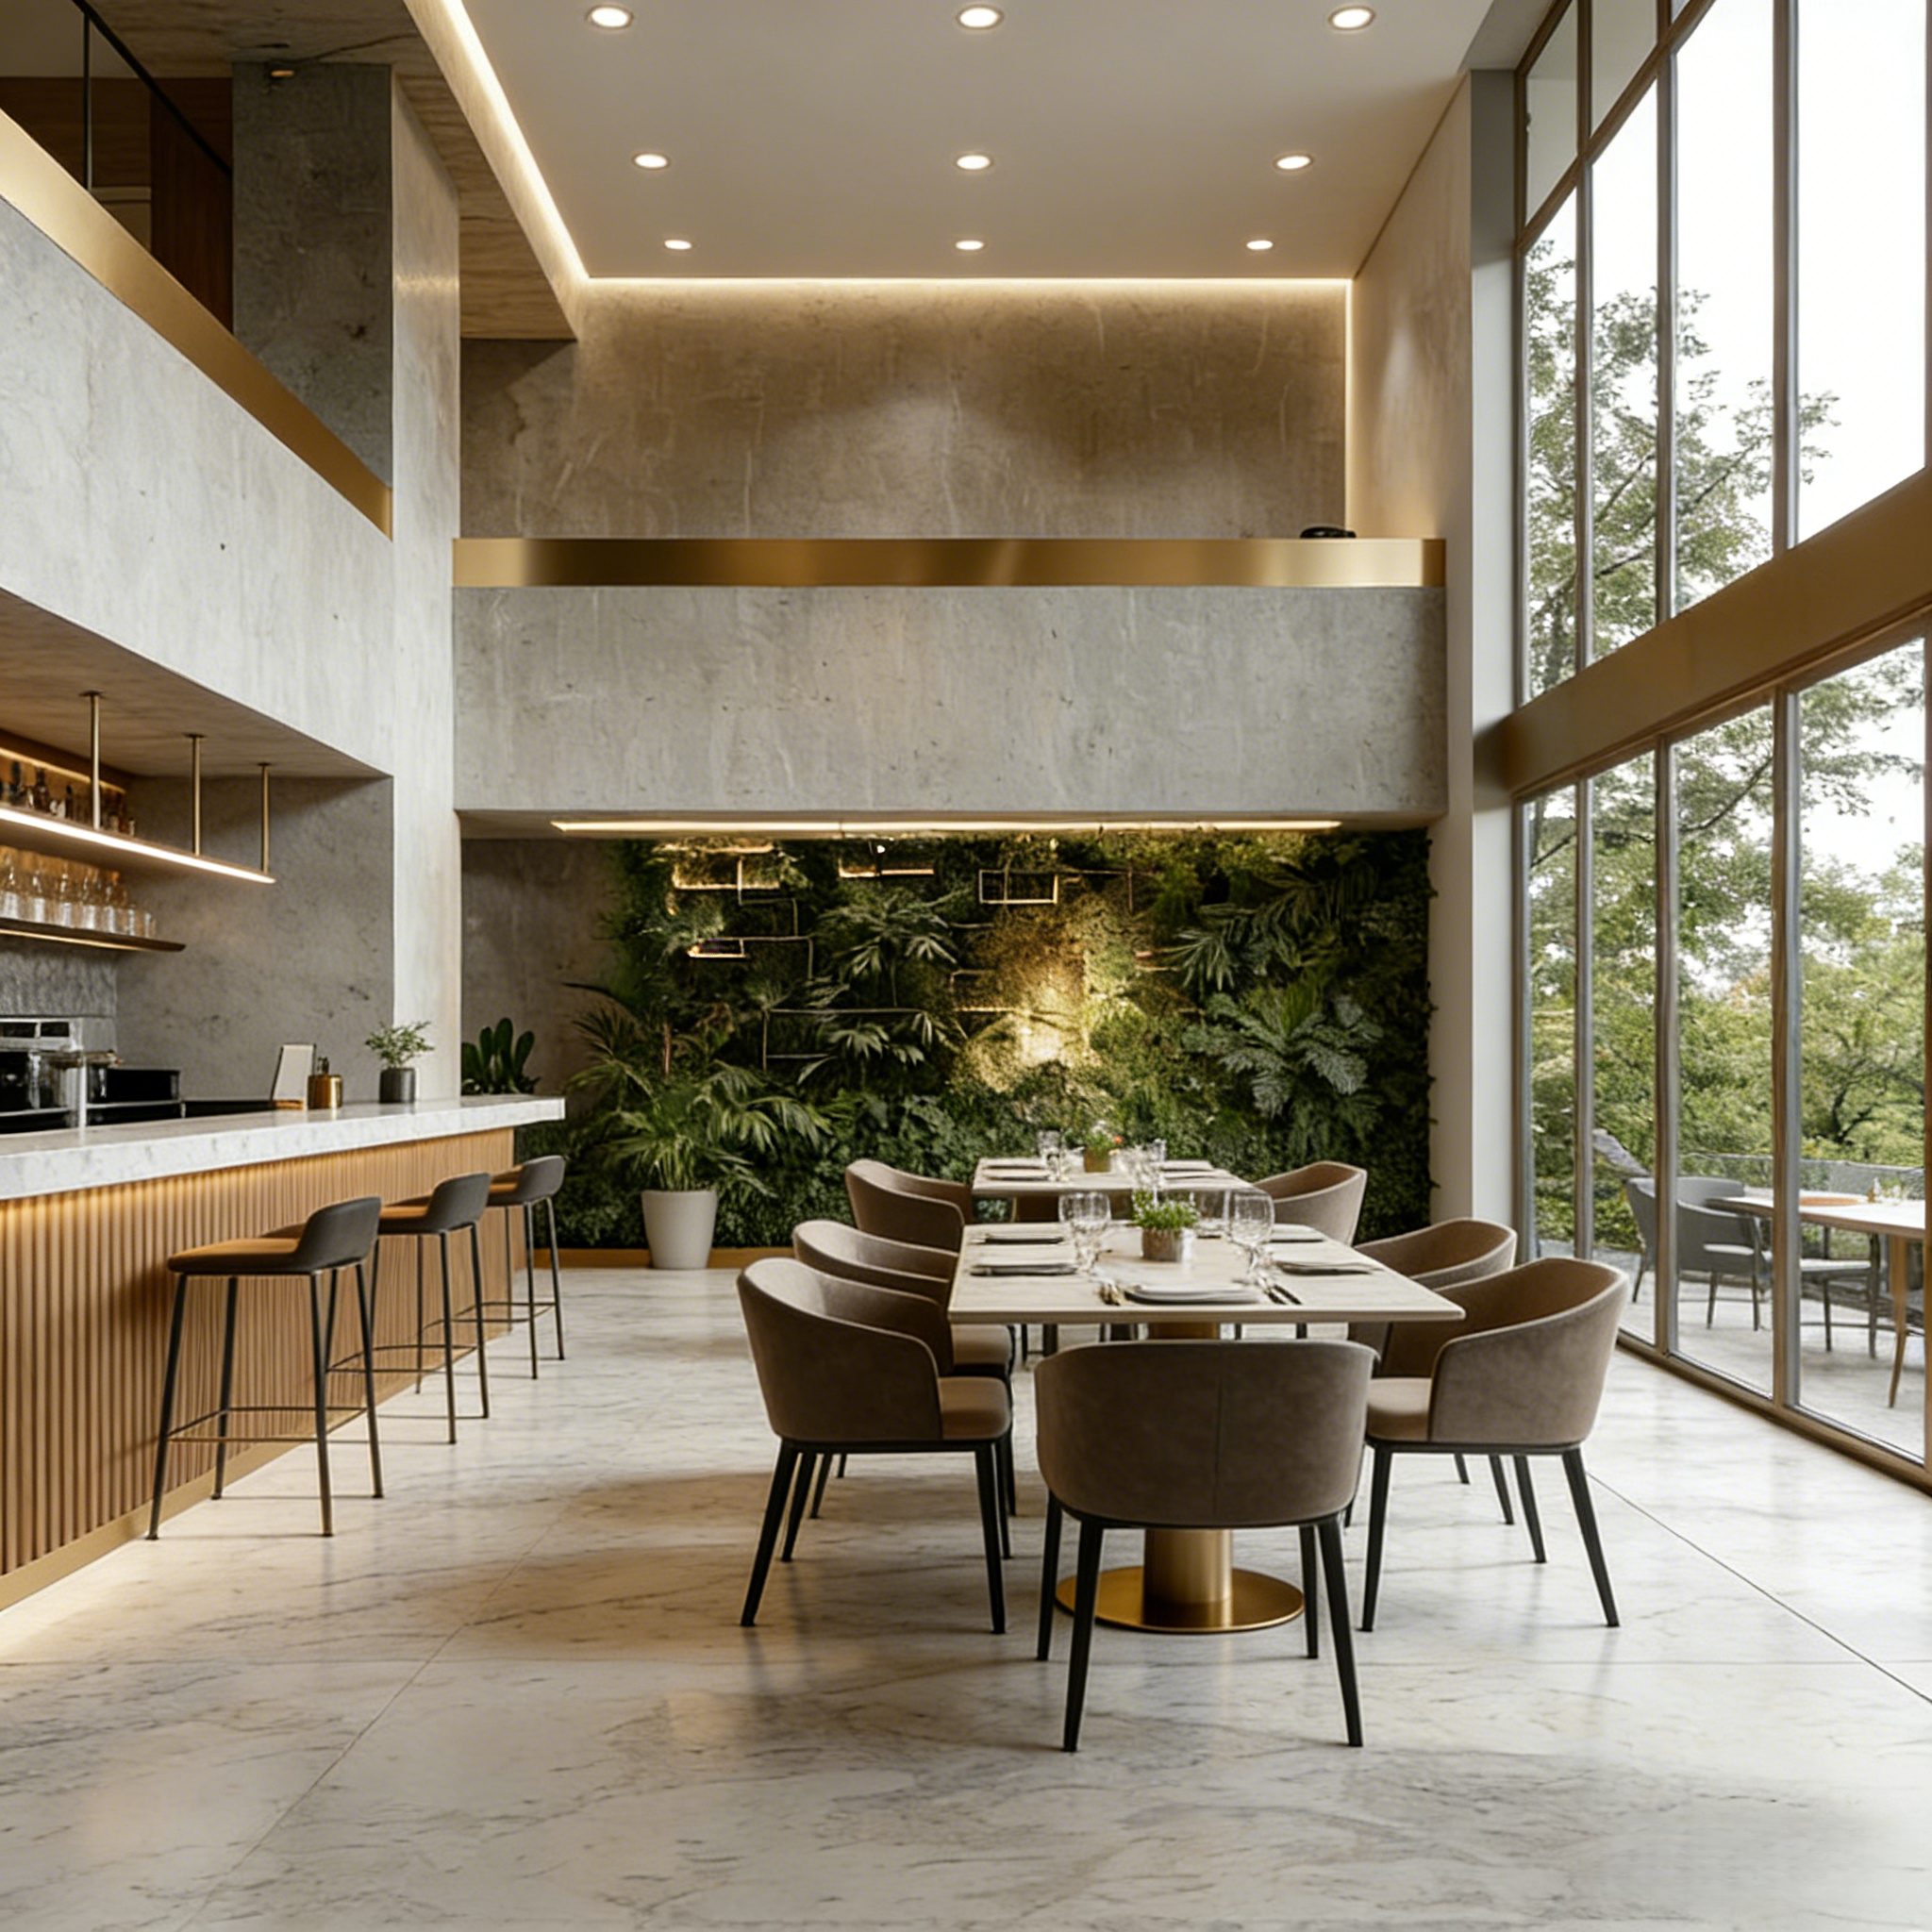
There is no universal number of downlights per square metre. Two rooms with the same floor area may need different layouts because their ceiling heights, beam angles, surface colours and lighting tasks differ.
A useful plan starts with where light is needed, then checks how the beams spread across those areas. This guide shows how to estimate a layout and what to verify before installation.
Decide whether the downlights will provide general lighting, illuminate a work surface or highlight selected features.
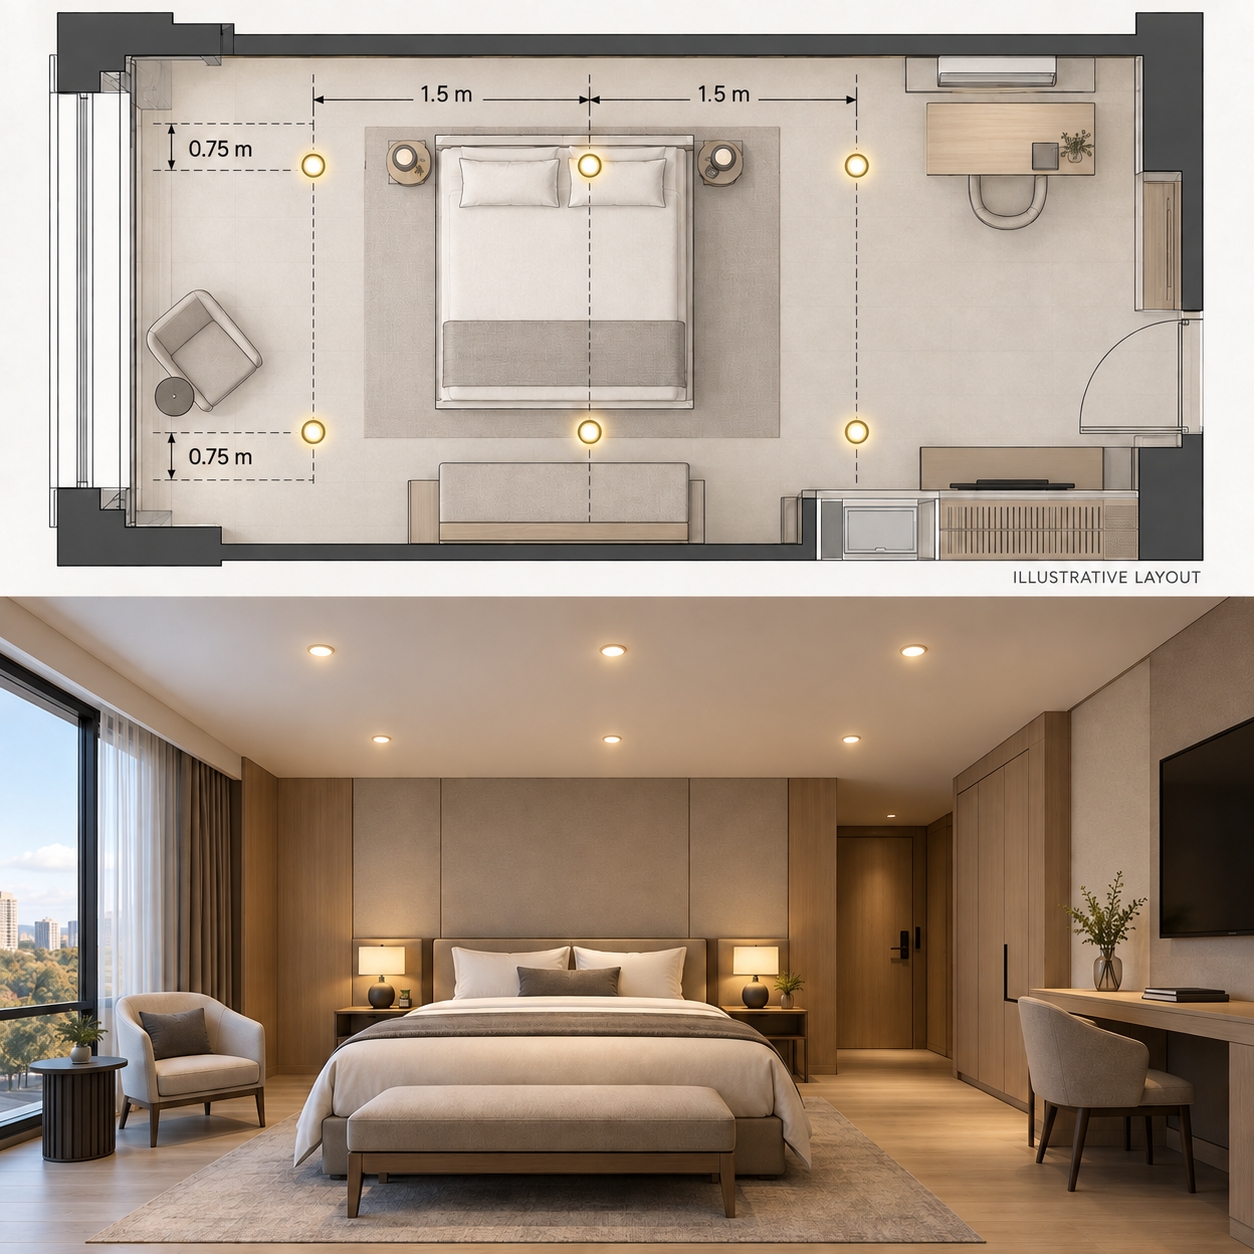
A corridor may need a clear, consistent route of light. A hotel guest room may combine soft general lighting with separate light at the bedside. A retail space may need focused light on displays as well as comfortable circulation lighting. These spaces should not all use the same ceiling grid.
Mark the important areas on a floor plan before counting fixtures. Include furniture, worktops, artwork and the positions from which people will view the room.
Ceiling height alone does not tell you how far the light must travel. For a desk or counter, measure from the downlight to the work surface. For floor lighting, measure from the downlight to the floor.
As that distance increases, a beam spreads over a larger area and its illumination on the target generally decreases. The fixture’s output and light distribution must therefore be considered alongside mounting height.
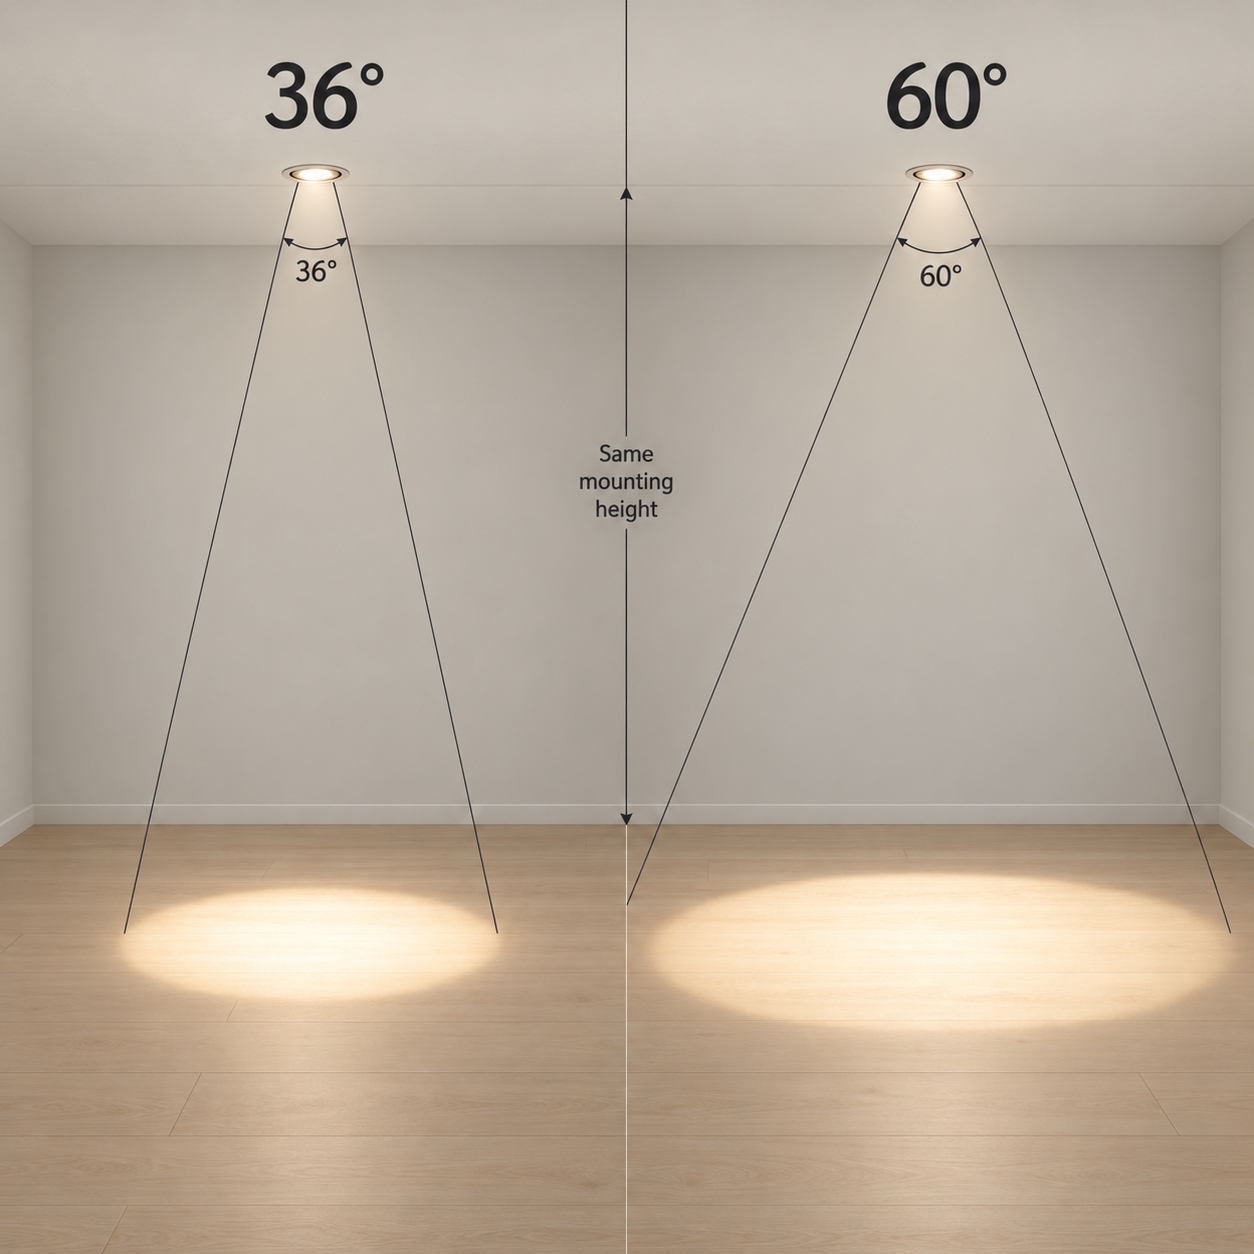
Beam angle describes the main spread of light. A narrow beam is useful for a defined accent, while a wider beam can cover more area for general lighting.
For an initial visual estimate, the nominal beam diameter on a flat surface can be calculated as:
Beam diameter ≈ 2 × distance to surface × tan(beam angle ÷ 2)
For example, at a distance of 2 metres, a 36° beam has a nominal diameter of about 1.3 metres, while a 60° beam has a nominal diameter of about 2.3 metres. This describes a nominal beam boundary, not the full visible pool of light. Actual coverage and brightness depend on the fixture’s photometric distribution.
For uniform general lighting, begin with an orderly arrangement that suits the room’s shape. The distance from the outer row of downlights to the wall is often planned at roughly half the distance between fixtures, then adjusted for furniture, ceiling details and the desired wall effect. This is a starting point, not a rule that fits every beam or room. Luminaire spacing guidance also relates spacing to the fixture’s height above the working plane.
Keep rows aligned with the architecture where possible. Avoid adding a fixture simply to fill an empty spot on the ceiling; first check whether that area needs more light.
A two-by-two layout of four downlights can be a starting sketch for general lighting in a rectangular room. Position the two columns approximately 2 metres apart across the 4-metre width, with each column about 1 metre from its nearest side wall. Along the 5-metre length, position the two rows approximately 2.5 metres apart, with each row about 1.25 metres from its nearest end wall.
That geometry creates a balanced ceiling plan, but it does not prove that four fixtures will provide enough light. A different beam angle, output, work surface or room finish may call for a revised layout. The example is a way to begin testing, not a recommended fixture count for every 20 m² room.
Fixture count depends on both layout and light output. A lighting calculation should account for the target illuminance, luminaire output, room dimensions, surface reflectance and the proportion of light reaching the relevant plane. The lumen method relates the number and type of luminaires to room characteristics and average illuminance.
For a project specification, request photometric files for the exact downlight and test the proposed arrangement in lighting design software. Check the work plane and vertical surfaces, as well as dark areas, overly bright patches and views of the light source.
To estimate how many downlights you need, start with the lighting tasks and target surfaces. Measure the mounting distance, choose a suitable beam angle, sketch a layout and then check it using the exact fixture’s photometric data.
The goal is not to fit the maximum number of downlights into the ceiling. It is to place the right amount of light in the right locations while keeping the room comfortable and visually clear.
Building 2, No.442, Wuyi Road, Jianghai District, Jiangmen City, Guangdong, China.
admin@inbright-lighting.com
0086 - 13424998756
Copyright © Jiangmen Inbright Lighting Co., Ltd All Rights Reserved. 粤ICP备2025393167号 Sitemap XML